Upgrading to LED Downlights: A Step-by-Step Guide for Homeowners
LED downlights are an eco-friendly, contemporary alternative to conventional lighting. Extremely versatile, these lights are suitable for any room and can enhance the look and ambience of an interior. In this step-by-step guide, we explain everything you need to know about upgrading to LED downlights, including assessing your space, choosing the right lights, and installing them safely and correctly.
Understanding LED Downlights
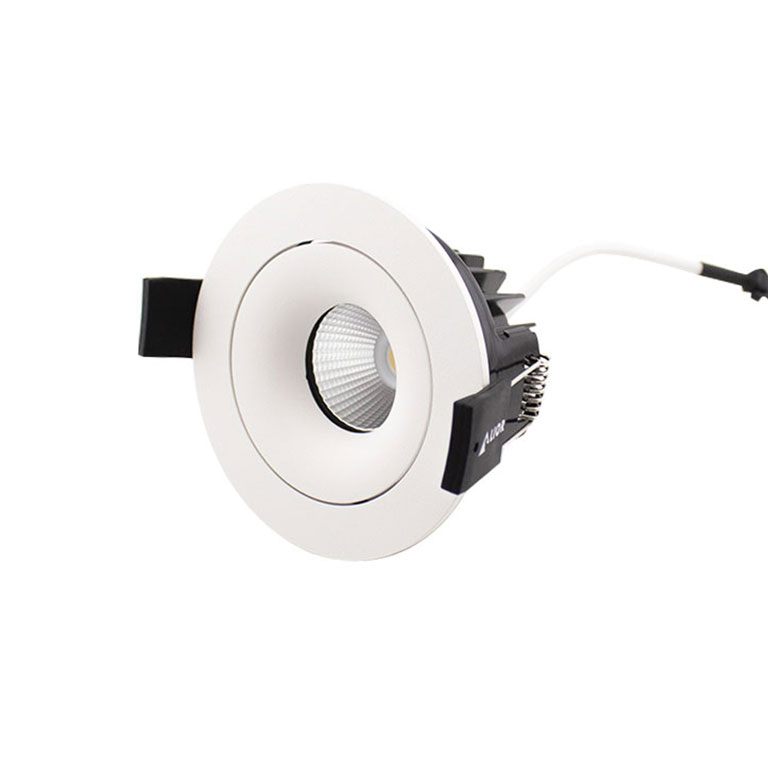
LED downlights are small light fixtures designed to illuminate a specific area. They are typically installed directly into the ceiling, which is why they are sometimes called recessed lights. When installed into the ceiling, the trim of the downlight sits flat against it. However, some downlights are designed to be installed below the ceiling or on another surface, such as a wall, to allow light positioning.
Downlights usually have a narrow beam and are installed in multiples to achieve the required effect and illumination for a given space. LED downlights have several benefits, which is why they are a hugely popular choice among homeowners.
LED downlights produce less heat and use less energy than traditional lighting options, making them eco-friendly. They also have a long lifespan which saves on maintenance costs over time.
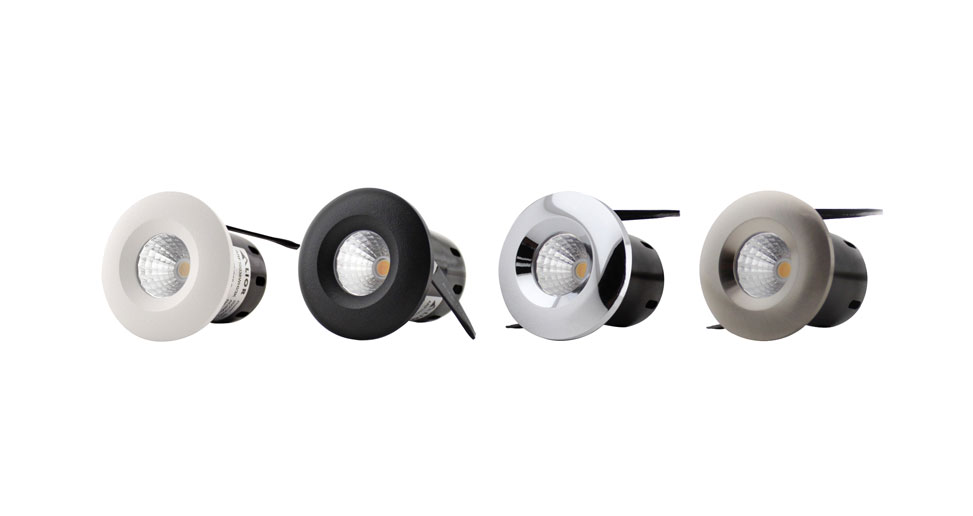
Another benefit of LED downlights is that they are available in a wide range of colours and shades, which makes it easy to achieve the perfect lighting effect in any interior. They are also available with many different trim styles, colours and finishes, which allows the perfect fit for any décor.
LED downlights come in various IP ratings with options suitable for virtually any space, including bathrooms and kitchens, for which they are an extremely popular choice.
Assessing Your Lighting Needs
There are several factors to consider when assessing your lighting needs. To ensure you choose the right LED downlights for your desired application and lighting effect, you will need to consider the following factors:
- Room size
- Ceiling type
- Placement
- Desired lighting intensity, beam angle and colour
One of the major challenges is determining how many downlights you will need per room. Too many downlights will flood the room with light, while too few will result in inconsistent or poor lighting. To ensure you calculate the number of required downlights effectively, first consider the focal points and areas of the room you want to highlight and then measure the ceiling height, length and width. This will help to ensure you have the right distance between your downlights to create the desired lighting effect.
There is no short answer to how many downlights you need per room. It depends on several factors, including your desired lighting effect, brightness and beam angle. Having said this, a basic guideline is to install one downlight per square metre, which is appropriate for most installations.
Planning the Upgrade
When planning an upgrade to LED downlights, creating a lighting plan is a good idea. Consider the layout of your room and the desired lighting effect. When creating your lighting plan, begin by considering your focal points. LED downlights like these Minima Minia are great for drawing attention to specific areas of a room, so first, determine the parts of the room you want more light shining on and work from there. Once you have determined your focal points, you can figure out the positioning of the remaining lights based on how many lights and the distance between each.
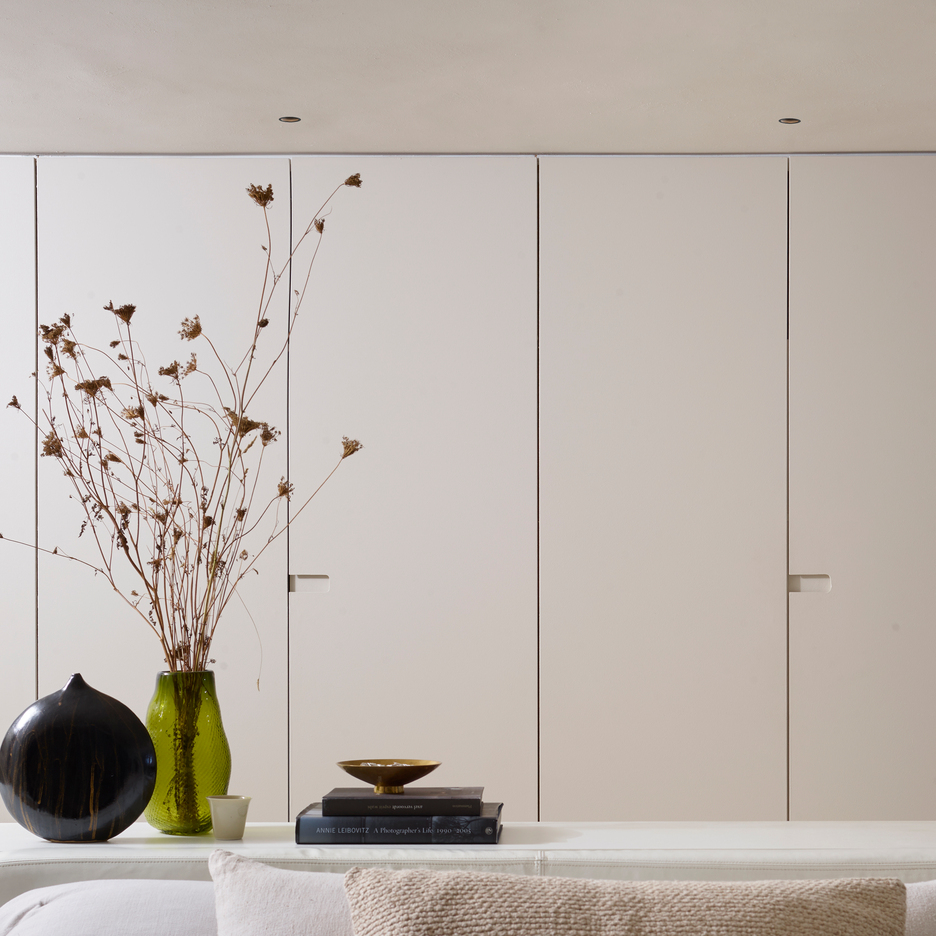
Different rooms require different illumination levels, so this is something to consider when creating your lighting plan. A bathroom, for example, will not require the same amount of lighting as a kitchen or living room.
Another factor to consider is the beam angle. Wider beam angles shine light over a larger space, while narrower beam angles provide a more focused spotlight.
Placement is an important factor when installing downlights. Placing LED downlights too close together will lead to inconsistent lighting and an undesirable look. Ensure your LED downlight placement is spaced evenly across the room. As a general guide, position your downlights 1-2 feet away from walls and allow for a 3-4 foot gap between each light. As well as single downlights, twin LED downlights are also available, which may be better suited for certain applications. These are multiple downlights in the same fitting.
It’s also important to assess your ceiling type before investing in downlights. When recessed downlights are installed, a hole is cut into the ceiling, creating a potential fire risk. Plasterboard ceilings serve as a natural fire barrier to mitigate this risk. Some other ceilings are fire rated, but it’s important to assess whether this is true. Fire hoods or fire-rated downlights may be required. If in doubt, consult a professional electrician.
Selecting LED Downlights
There are so many LED downlights on the market choosing the right ones can be a daunting task. However, there are a few basic things you can consider to make this task easier. This includes:
- Trim
- Colour temperature
- Beam angle
- Lumens
- IP rating & fire rating
Trim is one of the main things to consider when selecting LED downlights because this is one of the only aspects that will be seen. Trim doesn’t make any difference to the performance of the light itself but is simply aesthetic. The trim refers to the visible external casing once the light is installed. You can choose from various designs, shapes, colours and finishes. Although white trims are a popular option because they blend well with most ceilings, there are many different colour options on the market.
Another consideration is colour temperature. The colour temperature of the light will determine the ambience it creates when the light is switched on. Generally, you can choose from warm white (3000k), which creates a warm and relaxing atmosphere, cool white (4000k), which tends to work well in bathrooms and kitchens; and natural white (6000k), which is great for when clearer light, or task lighting, is needed. Some downlights are dimmable or CCT so that you can adjust the colour temperature or brightness of your lighting for any occasion.
The beam angle indicates how broad or narrow the light beam will be. A narrow beam will be suitable if you use downlights for accent lighting, task lighting, or highlighting a specific feature. Wider beam downlights are best for general-purpose lighting.
Another important factor is brightness. With LED downlights, brightness cannot be determined by the wattage, as this indicates how much power goes into the bulb. Instead, the brightness of the bulb is measured in lumens. Choose higher lumens for brighter lighting, such as when looking to illuminate a larger room.
As mentioned in the previous section, placement and fire rating are important considerations that should impact your chosen downlights.
Installation Process
Before undertaking any electrical work, it is first important that you check your insurance policies to ensure you will not invalidate them by carrying out electrical work yourself. It may be stipulated in the terms and conditions that you must have a professional, registered electrician to carry out the installation.
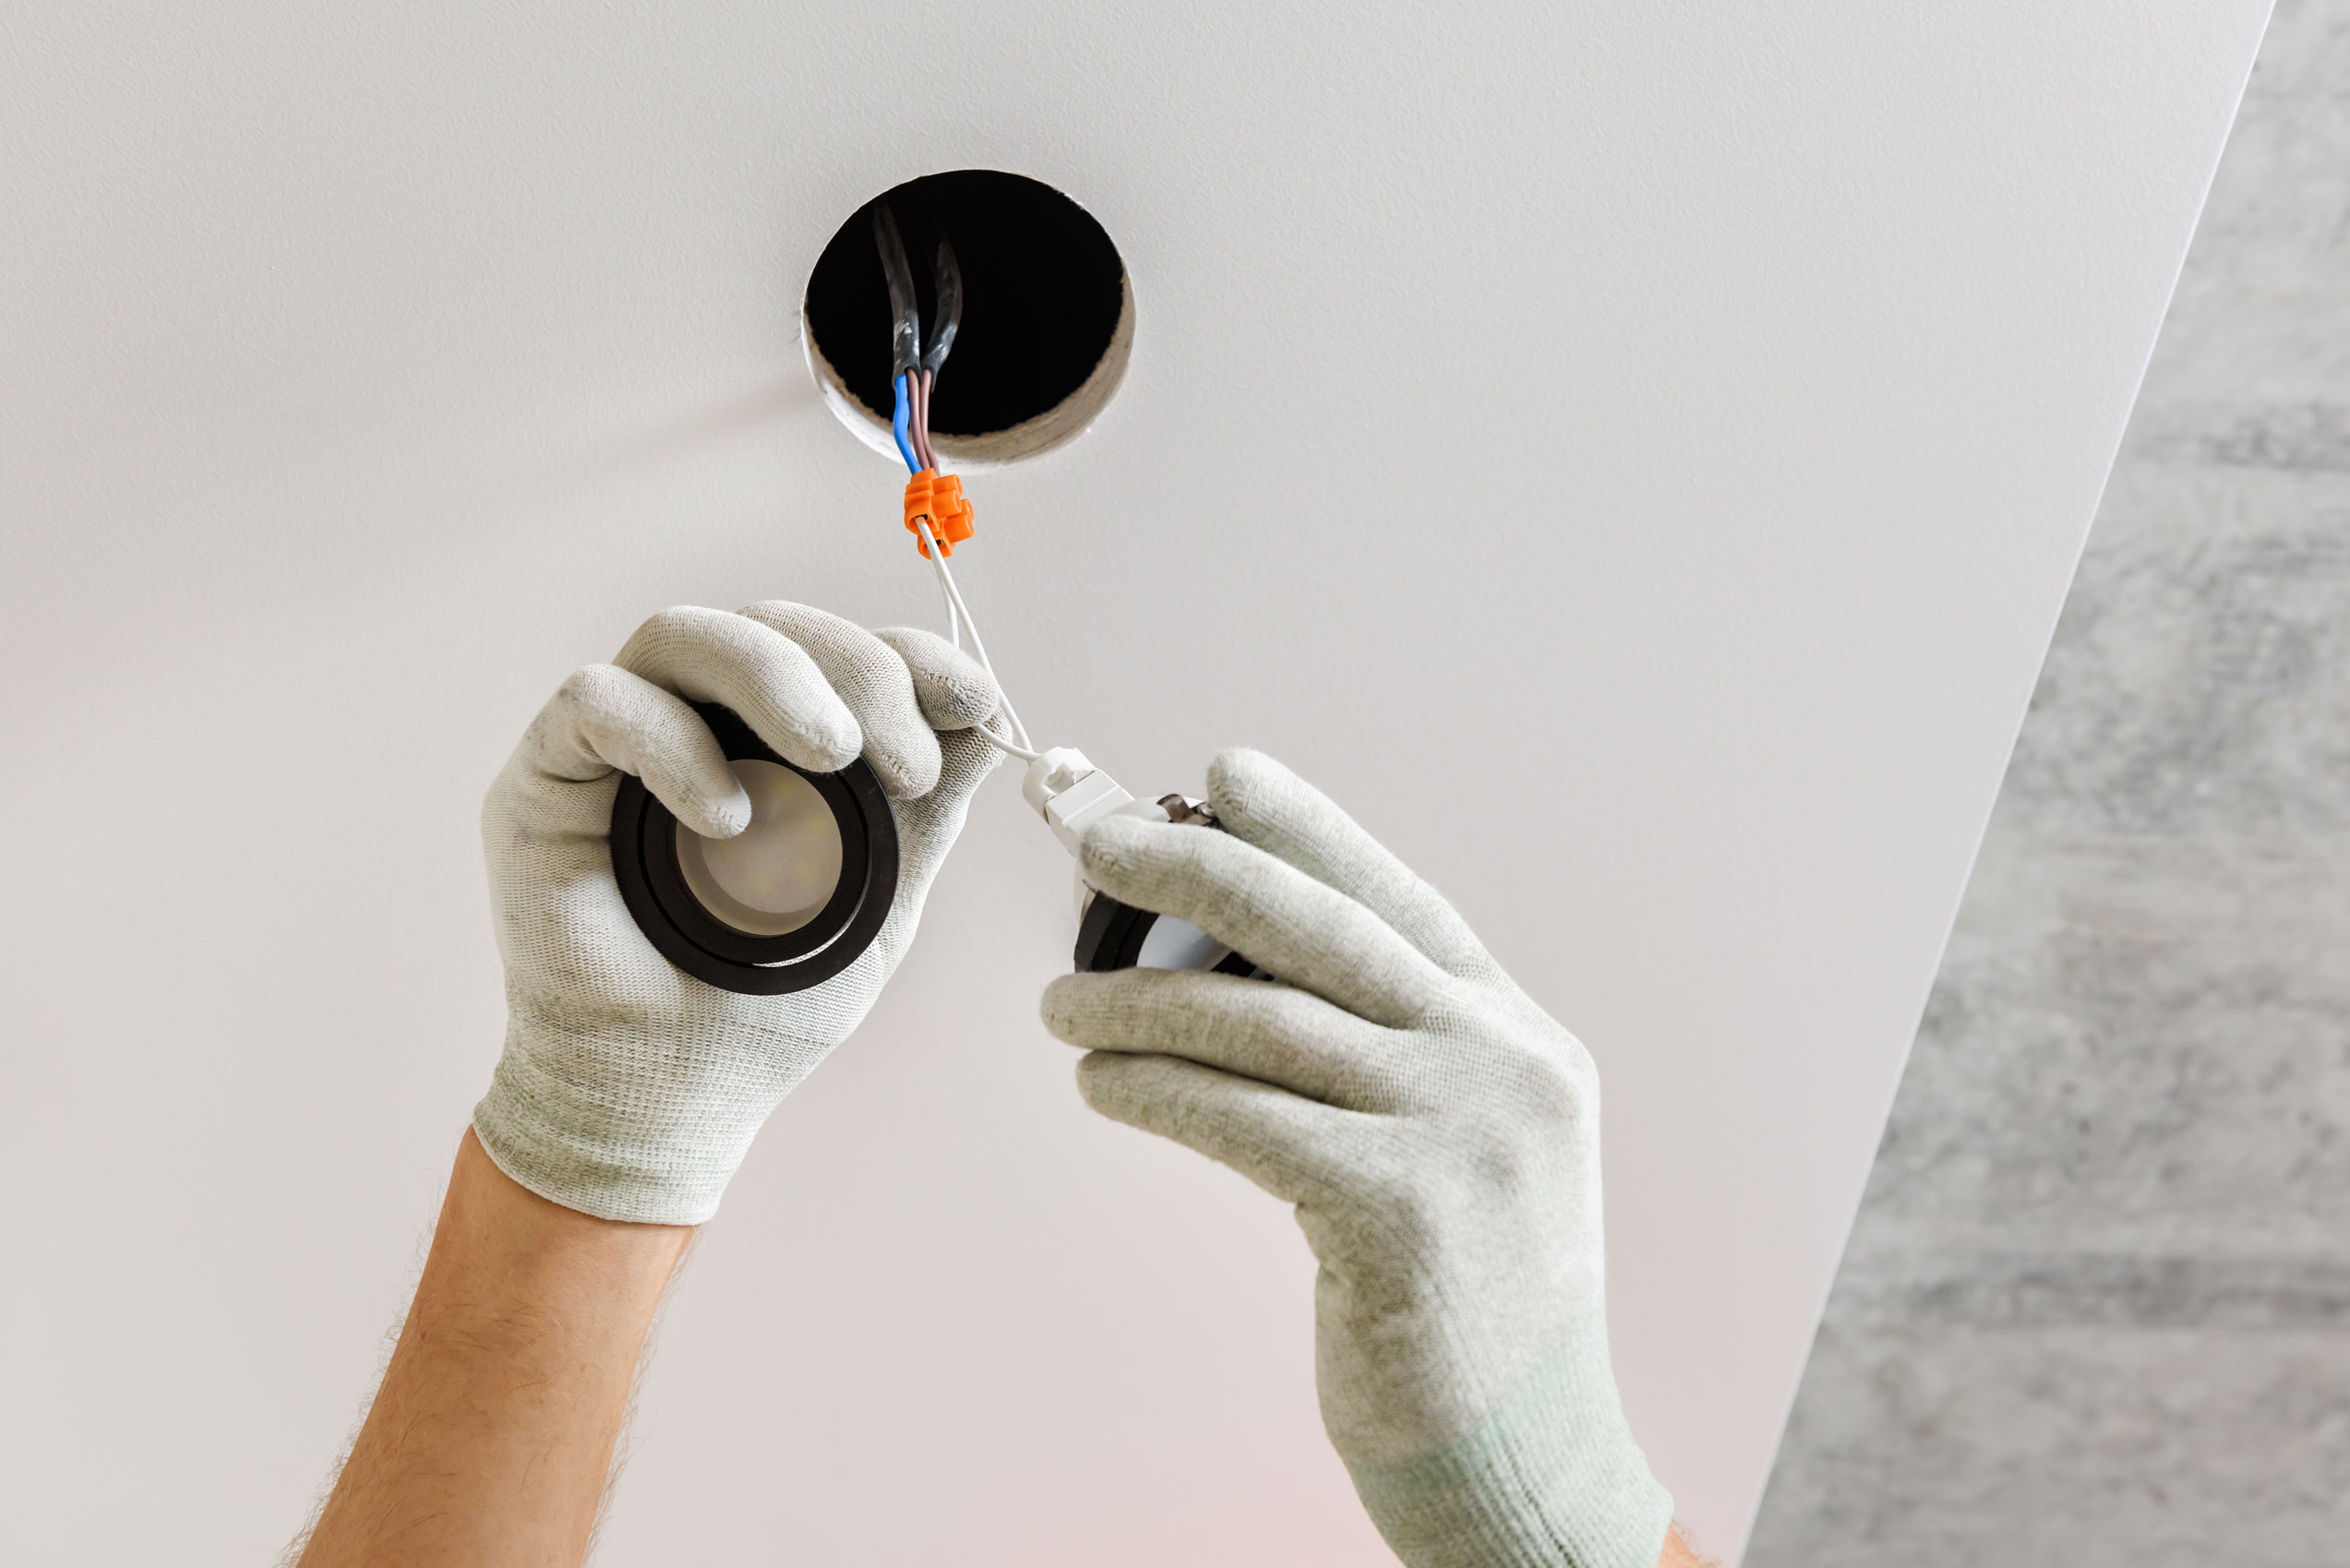
Once you are confident that you can begin installing your downlights, ensure you have properly isolated the electrical circuit and that there is no chance of it being accidentally switched on. This is to ensure safety and injury prevention during the installation.
Remove any old fixtures or recessed cans before installing your new downlights. Take time to carefully read all the instructions that came with your new downlights.
Mark out the position for your new downlights, measuring carefully to ensure you have the correct sizing. Check there are no joints or wires in the way before you begin cutting.
Carefully cut the holes for your downlights using a plasterboard or pad saw, ensuring you don’t cut anything above the ceiling. Then, feed the wiring through the holes before connecting the wires to the connector strip and holding the ends of the wires in place with grips. Most of the lights on your circuit will have two wires except the end one, which will have one. The next step is to fasten the box and screw the connector cover closed. Push the box into the hole before pushing in the two lugs on the LED downlight and pushing the light into the hole. Test and adjust the light angles if needed.
If you doubt installing your LED downlights, hire a professional electrician to do the job for you.
Troubleshooting and Maintenance
Over time, you may experience issues with your LED downlights. There are many common causes for this, and many have simple fixes.
One common issue with LED downlights not working properly is that there is loose contact with the bulb holder. This is relatively easy to resolve. Check the connectors in the bulb holder have not been bent too far and are now not touching the lamp base. If so, simply unplug the fitting and bend them back in place using an electric screwdriver.

Sometimes, issues can arise with downlights when the wrong type of dimmer switch is being used. To avoid this, ensure you are choosing the right type of dimmer switch, one that’s compatible with your LED downlights.
Another common issue is the fixture being too hot. If the fixture is not well-ventilated or enclosed, heat can build up over time which may cause your LED downlights to fail prematurely. To avoid this, ensure your downlights are well-ventilated and have air around them.
On the other hand, you may experience issues due to the fixture being too cold. The lifespan of your LED downlights will be reduced if they are exposed to extreme cold. To avoid this, perform routine maintenance to change the fixture regularly.
Another cause for downlights to become faulty or fail is an inadequate power supply. LEDs require a steady, high-voltage power supply. They can become damaged if the power supply isn’t strong enough or fluctuates. When there is a surge in electricity, downlights can fail. To avoid this, use a surge protector.
Exposed wires, loose connections and other wiring problems can cause issues with downlights. To avoid this, conduct an initial inspection to check the wiring after installation and see if anything looks astray. Routine maintenance checks can also detect these types of issues so they can be resolved before they result in the failure of your LEDs.
LED downlights are designed to last a long time. However, they will eventually end their lifespan and need replacing. If you have troubleshot the issue using the tips above and your lights are still not working, it may be that they are simply due for replacement, especially if they were installed a long time ago.
Maximising the benefits of your LED downlights
You can enjoy many additional tools and features with your LED downlights to maximise the benefits of this type of lighting. Consider investing in smart controls and dimmers to easily control and adjust your lighting when desired. Before purchasing, you will need to do some research to ensure the devices and components you choose are compatible with your downlights. Still, it’s worth investing in extras like these to maximise the benefits and future-proof of your new lighting.
LED downlights are the next step in energy-efficient and modern home lighting. If your lighting needs an upgrade, consider investing in LED downlights to create a contemporary aesthetic that will last for years. Follow the tips in this guide to help you assess your lighting needs and choose the best downlights for your interior. Although LED downlights are relatively easy to install, you should always consult a professional electrician.
Recent Posts
-
The Future Is Bright: Why Arrow’s New LED Downlight Kits Are the Smarter Choice for Modern Homes
When it comes to modern home lighting, it’s no longer just about illumination, it’s abo …4th Jun 2025 -
Beyond Knobs and Pulls: The Unexpected Cabinet Hardware Styles Defining 2025
When it comes to home design, it’s often the smallest details that make the biggest differenc …19th May 2025 -
Best Outdoor Lights for 2025. Top Picks for Patios, Pergolas & More
As warmer months roll in, our gardens become extensions of our homes-places to relax, entertain, an …12th May 2025

