
Downlight Maintenance 101: Tips for Long-Lasting Performance and Safety
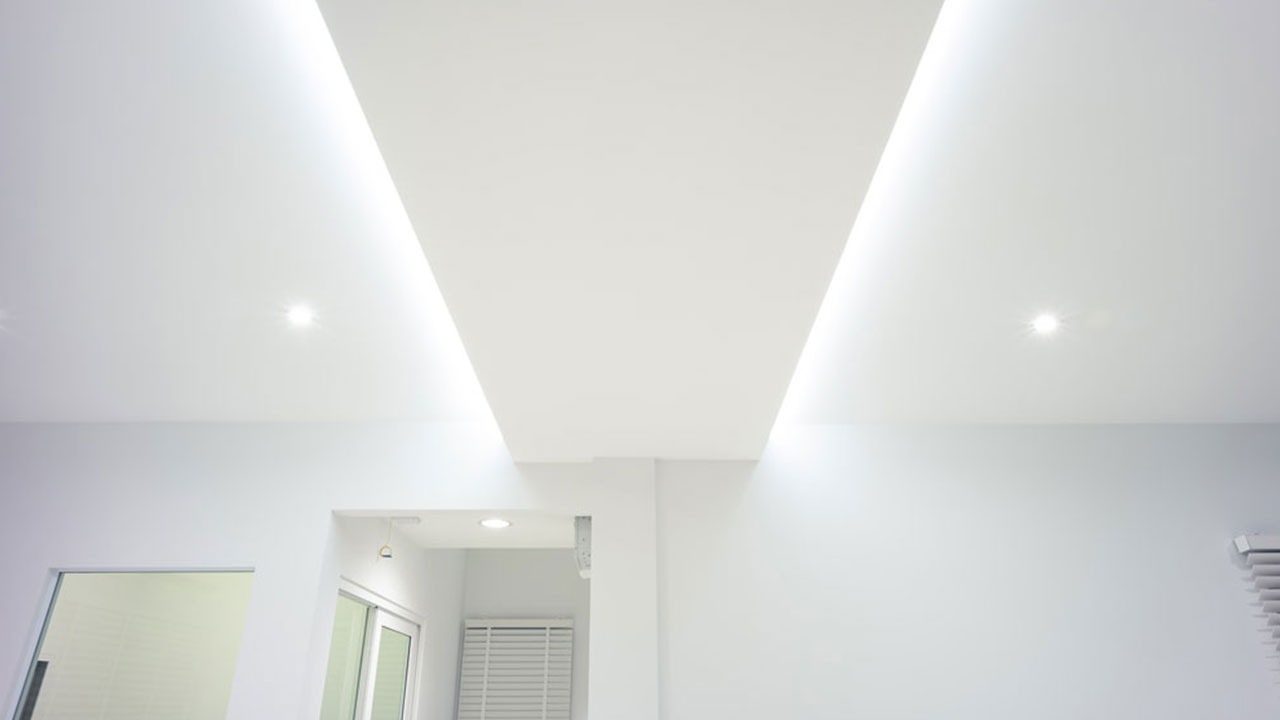
Regular downlight maintenance is crucial for optimal performance and safety, preventing hazards such as overheating or electrical malfunctions. This article covers everything you need to know about downlight maintenance, including downlight cleaning tips, periodic maintenance guidance, ensuring ventilation, and safely changing bulbs.
Why Downlight Maintenance is Essential
Neglected downlights can lead to various issues that compromise both performance and safety. Dust and dirt accumulation on the surface of downlights can diminish light output and quality, resulting in dim or uneven illumination. Over time, neglected downlights may experience electrical issues such as loose connections or damaged wiring, increasing the risk of electrical faults or short circuits.
Furthermore, neglected downlights are more prone to overheating, posing a fire hazard if left unaddressed. In addition to performance concerns, neglected downlights may fail to comply with safety regulations, potentially leading to penalties or fines. Regular maintenance is essential to address these issues proactively and ensure downlighting systems’ optimal performance and safety.
The Benefits of Downlight Maintenance
There are multiple benefits to regular downlight maintenance. These include:
- Enhanced Performance: Regular maintenance ensures that downlights operate at their best, providing optimal illumination and brightness throughout their lifespan.
- Improved Energy Efficiency: By keeping downlights clean and free from dirt or dust buildup, energy efficiency is maximised, leading to lower electricity consumption and reduced utility bills.
- Extended Lifespan: Routine maintenance, such as checking for loose connections and replacing worn-out components, helps prolong the lifespan of downlights, saving money on replacements in the long run.
- Enhanced Safety: Maintenance activities like inspecting wiring and insulation prevent potential hazards such as electrical fires or short circuits, ensuring the safety of occupants and property.
- Consistent Light Quality: Cleaning lenses and reflectors regularly maintain consistent light output and distribution, preventing uneven illumination and ensuring a comfortable and visually appealing environment.
- Compliance with Regulations: Regular maintenance helps meet regulatory requirements and building codes related to lighting safety and performance standards, avoiding potential fines or penalties for non-compliance.
Cleaning Your Downlights
Cleaning downlights properly is essential to maintain their performance and extend their lifespan. Follow these step-by-step instructions for general downlight cleaning:
- Turn Off Power: Before cleaning, switch off the power supply to the downlights at the circuit breaker to avoid the risk of electric shock.
- Allow to Cool: If the downlights have been in use, allow them to cool down completely before proceeding with cleaning to prevent burns.
- Remove Cover or Trim: Depending on the type of downlight, gently remove the cover or trim surrounding the bulb. This may involve twisting, unscrewing, or unclipping the cover.
- Dust Removal: Use a soft, dry cloth or a vacuum cleaner with a brush attachment to remove any dust, dirt, or debris from the surface of the downlight and around the bulb. Be gentle to avoid damaging the fixture.
- Wipe Down Surface: Dampen a clean cloth with a mild detergent solution or a mixture of water and vinegar. Wipe down the surface of the downlight fixture to remove any stubborn dirt or grease buildup. Avoid getting water inside the fixture to prevent electrical damage.
- Dry Thoroughly: After cleaning, use a dry cloth to wipe the downlight fixture dry to prevent water spots or damage. Ensure that the fixture is completely dry before reassembling or turning the power back on.
- Replace Cover or Trim: Once the downlight fixture is clean and dry, reattach the cover or trim securely, ensuring it is properly aligned and fitted.
- Restore Power: After reassembly, switch the power supply back on at the circuit breaker and test the downlights to ensure they function correctly.
- Regular Maintenance: Repeat the cleaning process periodically, ideally every few months, to prevent dust buildup and maintain optimal performance.
By following these simple steps, you can effectively clean your downlights and keep them shining brightly for years to come.
Downlight Cleaning Variations for Different Types
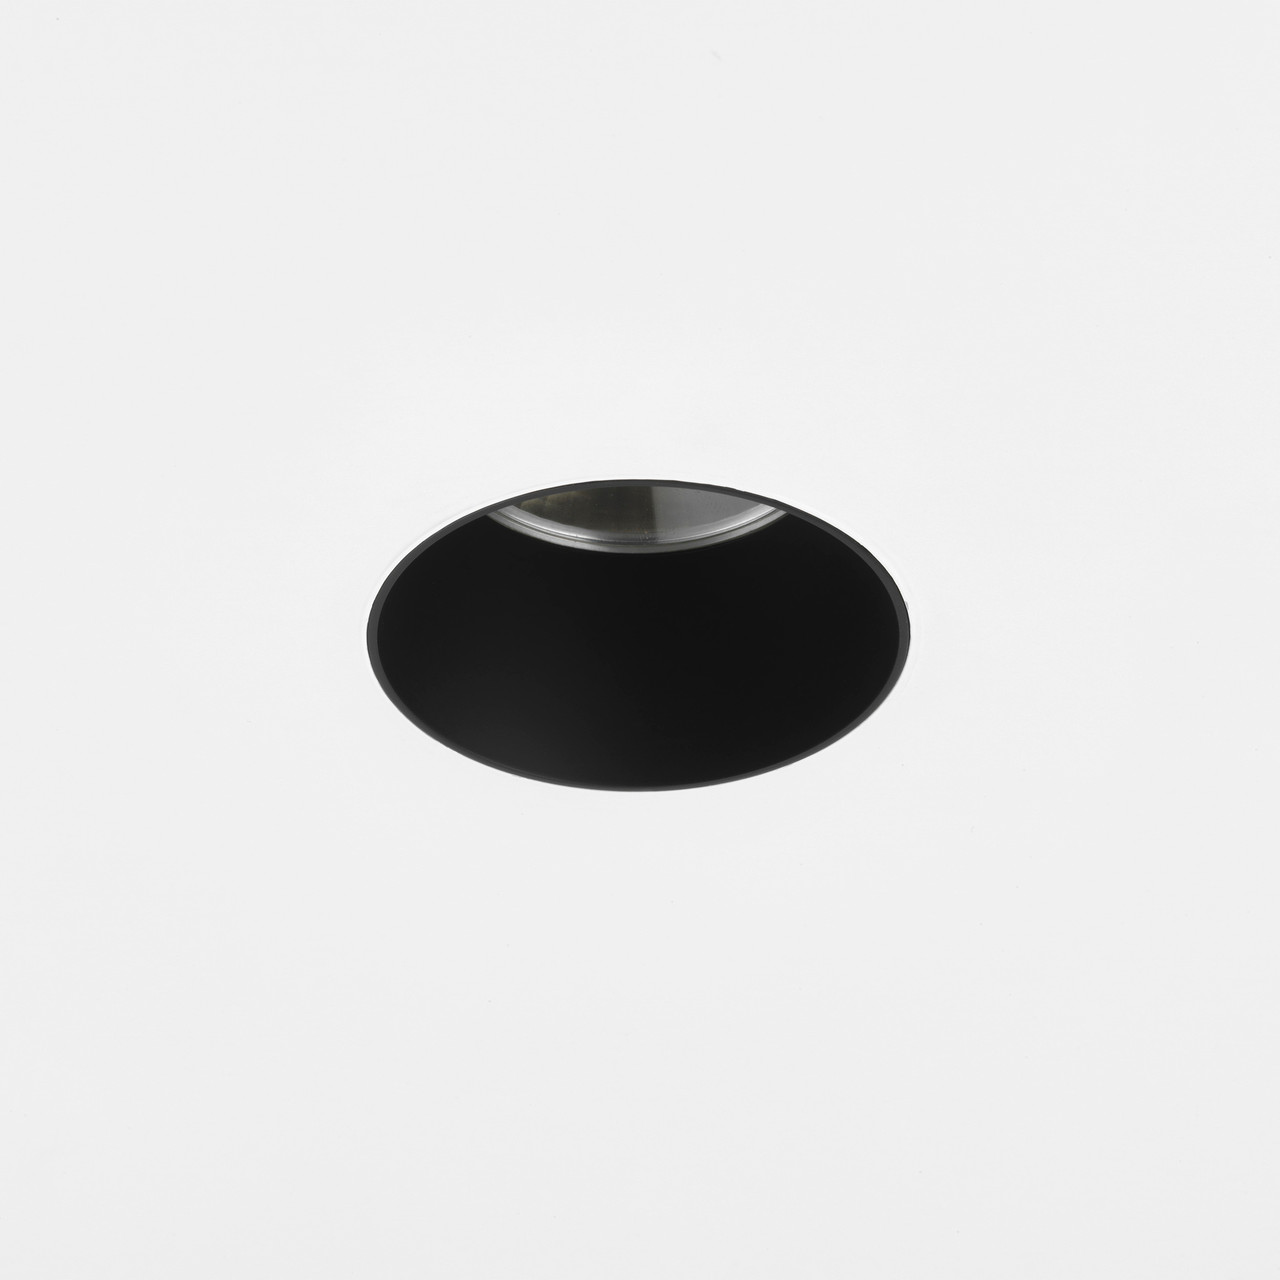
When cleaning different downlights, various methods and materials may be best suited to ensure effective maintenance. For recessed downlights, like this Void 80 black bathroom downlight, where the bulb is inset into the ceiling, using a soft, dry cloth or a vacuum cleaner with a brush attachment is ideal for removing surface dust and debris.
For adjustable downlights that can be tilted or rotated, paying attention to the moving parts and joints is essential to ensure they are free from dirt or obstruction. For both types of downlights, a mild detergent solution or a mixture of water and vinegar can be used to wipe down the surface for a deeper clean. However, it’s crucial to avoid getting water inside the fixture to prevent electrical damage.
For LED downlight maintenance, it’s essential to handle the fixture with care to avoid damaging the delicate electronic components while cleaning. Use a soft, dry cloth or a non-abrasive cleaning solution specifically formulated for LED fixtures.
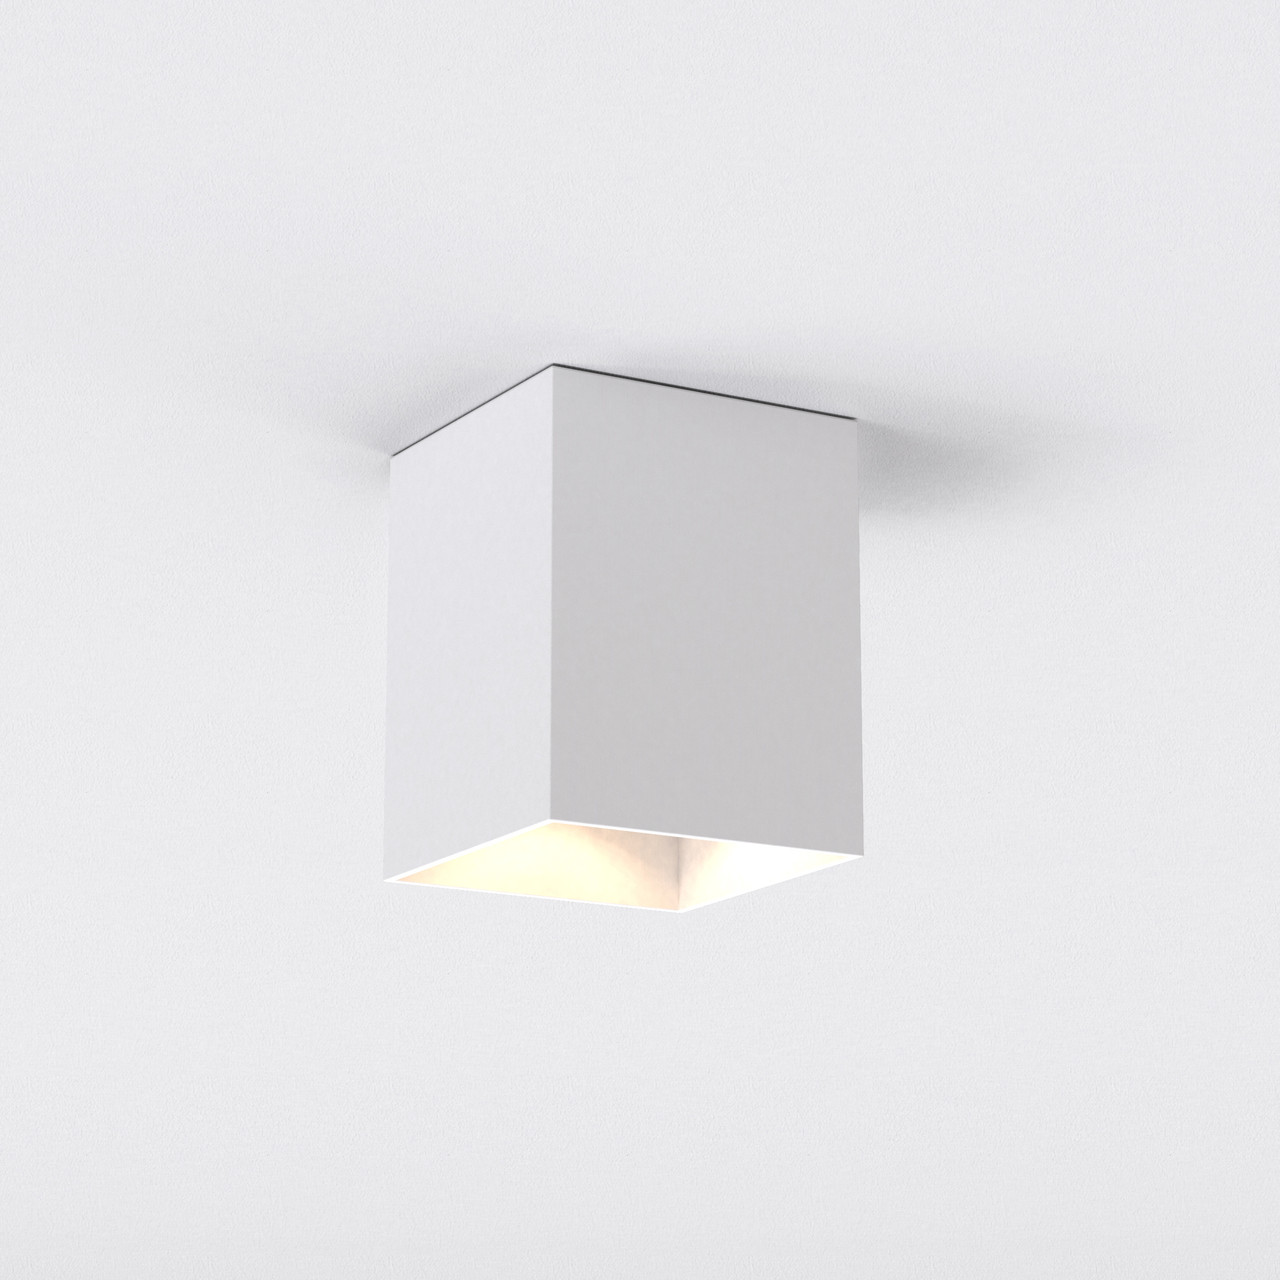
To clean aluminium or metal-cased downlights, like this Proform TL Square downlight, use a soft cloth dampened with mild, soapy water to gently wipe away dirt or grime, avoiding abrasive cleaners to prevent scratching. For downlights with a plastic casing, like this Kinzo 140 LED downlight, a solution of warm water and a small amount of vinegar can effectively remove dirt and stains without damaging the plastic surface, followed by a thorough rinse and drying with a soft cloth.
When cleaning fire-rated downlights, it’s crucial to adhere to the manufacturer’s guidelines and recommendations to ensure the integrity of the fire-rated enclosure is maintained, preventing potential safety hazards.
Always dry the downlights thoroughly after cleaning to prevent water spots or damage. By tailoring the cleaning method and materials to the specific type of downlight, you can ensure effective maintenance and optimal performance.
Checking and Replacing Bulbs
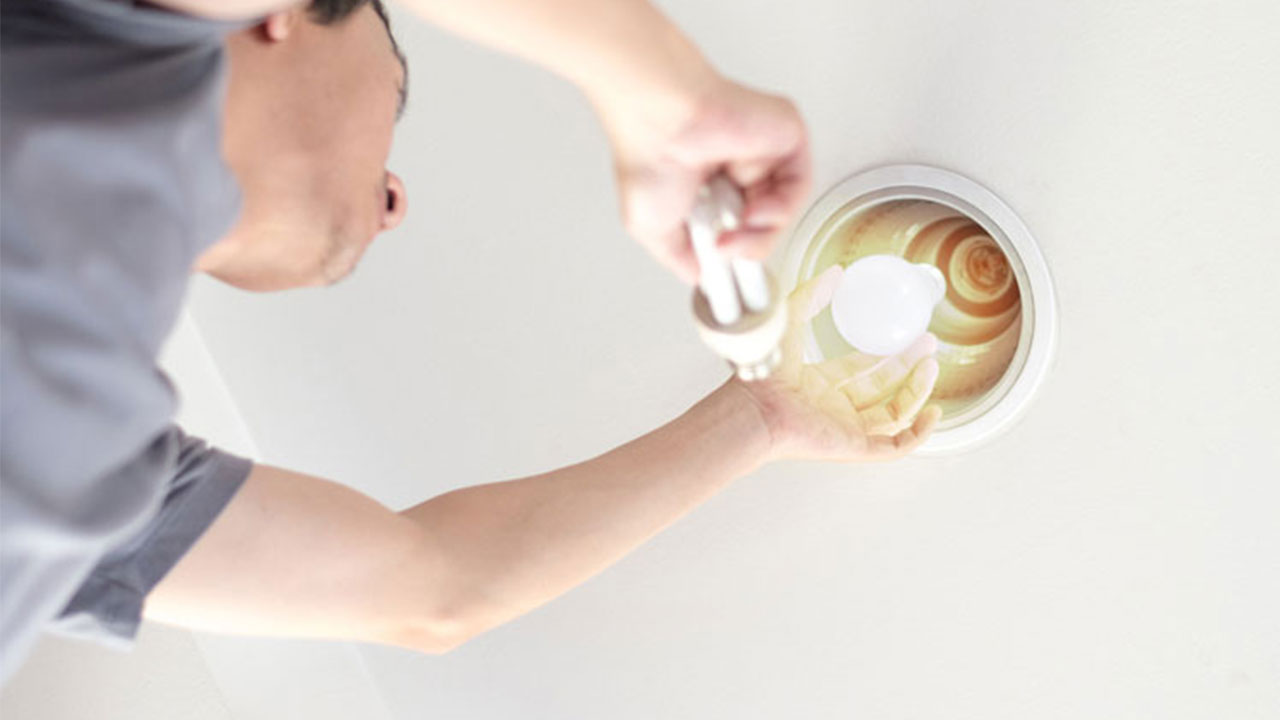
It’s important to regularly check downlight bulbs for functionality and brightness as this ensures optimal lighting performance and safety. Failed or dimming bulbs can result in inadequate illumination, compromising visibility and increasing the risk of accidents. By promptly replacing faulty bulbs, you ensure consistent lighting levels, promoting a safe and comfortable environment for occupants.
Additionally, monitoring bulb functionality allows you to address any issues early, preventing potential disruptions and minimising maintenance costs in the long run. Regular checks also contribute to energy efficiency by identifying inefficient bulbs that may consume excessive power or fail to deliver the desired brightness levels, prompting timely replacements to conserve energy and reduce electricity bills.
Tips for Safe Replacement of Downlight Bulbs
To ensure safety and performance when replacing downlight bulbs, selecting the right bulb for your fitting and electrical system is essential. Consider the following tips for safe and effective replacement of downlight bulbs:
- Switch off power: Before replacing downlight bulbs, ensure the power is switched off at the mains to prevent the risk of electric shock.
- Use recommended bulbs: Use the appropriate bulb type and wattage as advised by the manufacturer to prevent overheating and potential fire hazards.
- Choose LED bulbs: Opt for LED downlight bulbs for their energy efficiency, long lifespan, and minimal heat emission, which enhance safety and reduce energy costs.
- Check fitting size: Choose bulbs with the correct fitting size to ensure compatibility with your downlight fixtures and prevent installation issues.
- Consider colour temperature: Consider the bulbs’ colour temperature to achieve the desired ambience and lighting quality in your space, ensuring optimal comfort and aesthetics.
- Handle with care: Wear gloves or use a clean cloth when handling bulbs to prevent leaving fingerprints or oil residue, preserving bulb lifespan and light quality.
- Avoid touching glass: Do not touch the glass part of the bulb directly to prevent damage and ensure even light distribution, prolonging bulb longevity and performance.
- Ensure secure seating: Ensure the bulb is securely seated in the socket to prevent flickering or intermittent operation, ensuring consistent illumination.
- Dispose responsibly: Dispose of old bulbs responsibly according to local recycling guidelines for proper electronic waste disposal, promoting environmental sustainability.
Inspecting and Cleaning Light Covers or Trims
Regular cleaning of downlight covers or trims helps maintain their appearance and ensures optimal light output from the fixture. To inspect and clean downlight covers or trims, start by switching off the power to the lights to ensure safety. Carefully remove the cover or trim from the downlight fixture, following the manufacturer’s instructions. Use a soft, dry cloth or a vacuum cleaner with a brush attachment to gently remove dust, dirt, or debris from the surface of the cover or trim.
For stubborn stains or dirt buildup, dampen the cloth with a mild detergent solution or a mixture of water and vinegar, ensuring not to saturate the cover or trim. Wipe the surface thoroughly and allow it to air dry before reattaching it to the downlight fixture. Avoid using harsh chemicals or abrasive cleaners that may damage the finish or material of the cover or trim.
Addressing Electrical Components
It’s advisable to consult a professional electrician to inspect the electrical components of your downlights, including wiring and connections, for any signs of damage or wear. This step is crucial for ensuring the safety and functionality of your lighting system. A qualified electrician can identify potential issues such as frayed wires, loose connections, or overloaded circuits that may pose fire hazards or cause electrical failures. They can also perform necessary repairs or replacements to prevent safety risks and ensure your downlights operate efficiently.
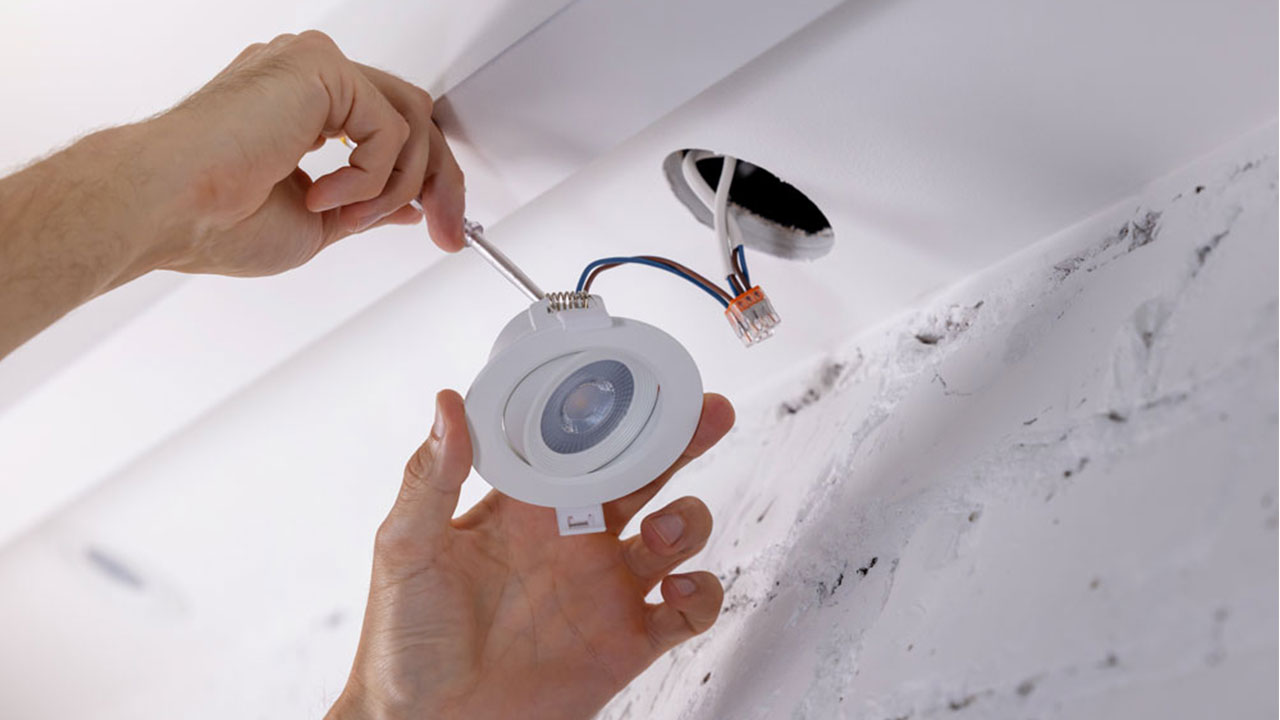
Regular electrical inspections by a certified electrician are essential for maintaining the integrity and reliability of your lighting installation, providing peace of mind and safety for you and your family.
A professional electrician should ideally inspect downlights annually to ensure ongoing safety and performance. However, if you notice any signs of damage, irregularities, or malfunctions with your downlights, it’s crucial to schedule an inspection promptly regardless of the regular interval.
Proper Ventilation for Downlights
Ensuring proper ventilation around downlights is essential to prevent overheating, which can pose fire hazards and compromise the longevity of the fixtures. Downlights generate heat during operation, and inadequate ventilation can trap this heat, leading to excessive temperatures that may damage the surrounding materials or cause electrical components to malfunction. Adequate airflow helps dissipate heat efficiently, maintaining a safe operating temperature for the downlights and reducing the risk of overheating-related issues.
Additionally, proper ventilation contributes to the overall comfort of the space by preventing the accumulation of hot air and improving air circulation. Regularly inspecting and clearing any obstructions around the downlights, such as dust or debris buildup, helps ensure unimpeded airflow and optimal ventilation, enhancing safety and performance.
To facilitate airflow, it’s essential to select downlights specifically designed for enclosed spaces, as these fixtures often feature built-in ventilation mechanisms to promote air circulation. Additionally, when installing recessed or enclosed downlights, leave sufficient clearance around the fixtures to allow airflow. Avoid overcrowding the ceiling cavity or enclosing the fixtures tightly within the insulation or other materials, as this can impede ventilation and trap heat.
Installing insulation covers designed to accommodate downlights can help regulate airflow while providing thermal insulation. Finally, consult with a qualified electrician or lighting specialist to ensure proper installation and ventilation of recessed or enclosed downlights, adhering to safety guidelines and manufacturer recommendations to minimise the risk of overheating and ensure long-term reliability.
Regular Maintenance Schedule
Setting a regular maintenance schedule for downlights ensures optimal performance and longevity. A schedule will help you remember to keep up with your downlight maintenance. Here’s a suggested schedule:
- Monthly inspection: Check downlights for signs of damage, flickering, or dimming, which may indicate issues with bulbs or wiring.
- Quarterly cleaning: Wipe down light covers or trims to remove dust, dirt, or debris, ensuring unobstructed illumination.
- Annual electrician inspection: Have a professional electrician inspect the wiring, connections, and components for wear or damage to prevent electrical hazards and ensure safe operation.
Conclusion
Regular downlight maintenance ensures optimal performance and safety of your downlights. Follow the tips in this article to ensure safe and effective care of your downlights. Doing this will ensure your downlights shine brightly for years to come! If you’re looking for high-quality downlights and downlight bulbs, you can browse our extensive collection here.
Recent Posts
-

How to Choose a Crystal Chandelier: Styles, Finishes and Practical Checks
A chandelier does more than light a room. It draws the eye upward, changes the mood of the space an …23rd Jun 2026 -

Downlights: The Complete UK Guide to Choosing the Right Fitting
Downlights have become the most widely chosen ceiling light across UK homes and commercial spaces — …13th Jun 2026 -

How to Clean a Chandelier: The Complete Guide to Crystal and Glass Fittings
A chandelier that is not cleaned regularly loses its sparkle — and more besides. Dust, grease, and …21st May 2026